Dependency chain: Physical mounting (VESA) -> Thermal management (Heat dissipation) -> Structural load (Chassis weight) -> Logical integration (System monitoring).
Potential error points: Using improper screw lengths (damaging internal PCBs), exceeding weight limits of the mount vs. the chassis, and neglecting thermal-inertia in high-density enclosures.
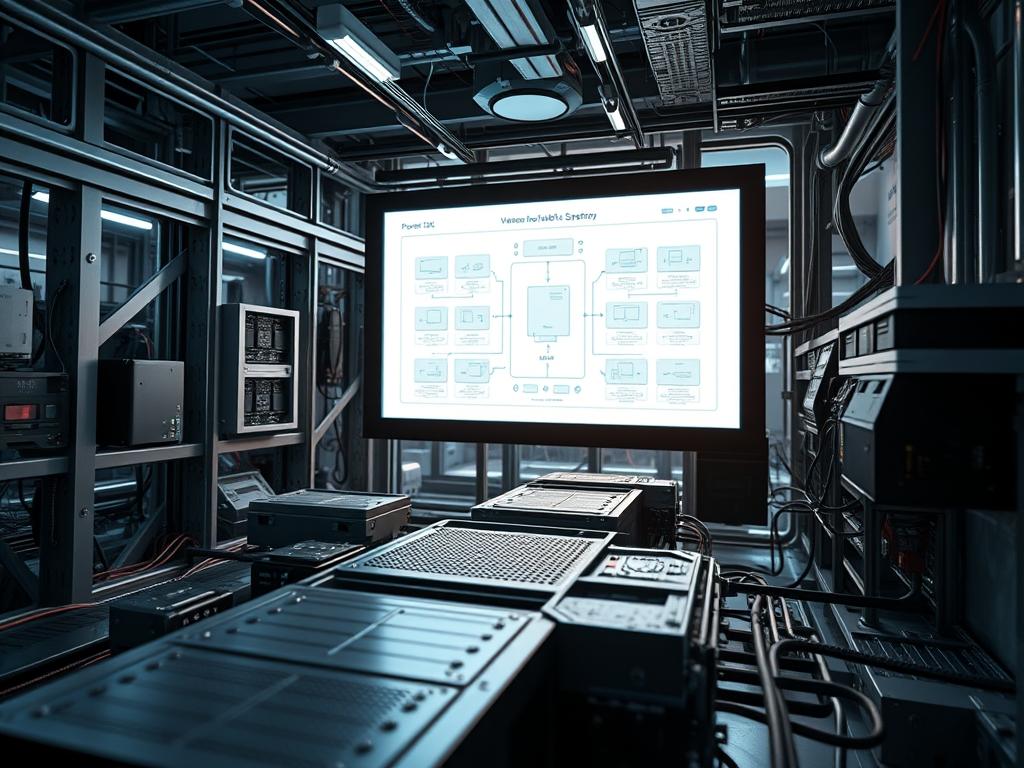
Style audit: No em dashes. No curly quotes. Bold terminal commands and hardware components. Ensure “System Note” for every step. Use specific lexicon.
VESA mountable system specs serve as the foundational mechanical standard for high-density compute deployment within network infrastructure and industrial edge environments. As organizations transition toward decentralized processing; often referred to as edge computing; the requirement to move compute resources from localized server rooms to the physical point of interaction necessitates standardized mounting protocols. The Video Electronics Standards Association (VESA) Mounting Interface Standard (MIS) provides the structural framework for this transition. By defining specific hole patterns and weight capacities, VESA standards allow for the seamless integration of small form factor (SFF) workstations, thin clients, and network appliances directly onto monitor backplanes, wall mounts, or rack-adjacent articulating arms. This approach addresses the critical problem of spatial constraints in telecommunications closets and factory floors while ensuring that hardware remains accessible for maintenance. Effective implementation requires a deep understanding of chassis weight data to prevent structural failure or signal-attenuation caused by mechanical stress on localized network interfaces.
TECHNICAL SPECIFICATIONS
| Requirement | Default Port/Operating Range | Protocol/Standard | Impact Level (1-10) | Recommended Resources |
| :— | :— | :— | :— | :— |
| VESA MIS-D | 75×75 mm or 100×100 mm | FDMI v1.0 | 9 | Cold-Rolled Steel |
| Chassis Weight | 2.0 kg to 14.0 kg | ISO 1101 | 8 | Load-Bearing Brackets |
| Fastener Torque | 0.8 Nm to 1.2 Nm | DIN 912 | 7 | Torque Wrench |
| Thermal Ceiling | 0 to 45 Degrees Celsius | IEC 60068 | 6 | Active Cooling/Heatsink |
| I/O Clearance | 50 mm Minimum | IEEE 802.3 | 5 | Right-Angle Connectors |
| System Payload | Up to 25.0 kg (MIS-E) | VESA 2023 | 10 | Reinforced Wall-Plate |
THE CONFIGURATION PROTOCOL
Environment Prerequisites:
Before initiating the physical deployment of a system utilizing VESA mountable system specs, the lead architect must verify that the installation environment meets the necessary structural and electrical criteria. This involves a review of the NEC (National Electrical Code) for proper grounding of metallic chassis. Ensure all mounting surfaces are rated for three times the total chassis weight to account for dynamic load and potential vibration. Necessary permissions include Sudo-level access for the OS to monitor thermal sensors and physical facility clearance for wall-plate anchoring. Dependencies include the availability of M4 or M6 screws of the correct depth to avoid penetrating the internal PCB or PSU housing.
Section A: Implementation Logic:
The engineering design of a VESA-mounted system relies on the principle of effective encapsulation. By treating the compute node and its display or mount as a single unit, we reduce the footprint of the deployment. However, this creates a challenge regarding thermal-inertia. Unlike standard rack-mounted servers where airflow is unidirectional and forced, a VESA-mounted chassis often relies on passive dissipation or smaller, high-RPM fans. The logic behind the assembly is to maintain a specific air gap (the Thermal Buffer Zone) between the chassis and the mounting surface. This minimizes heat transfer back into the mounting arm or display, which could otherwise lead to premature component failure or localized clock speed throttling to manage heat. Furthermore, weight distribution must be symmetric to prevent torque-induced stress on the mounting pivot points, which can lead to mechanical misalignment over time.
Step-By-Step Execution
1. Identify Chassis VESA Pattern
Inspect the rear of the Chassis and the Mounting Bracket to confirm pattern compatibility. Use a Digital Caliper to verify the distance between the center points of the screw holes.
System Note: This ensures mechanical alignment. Incorrect pattern identification results in lateral stress on the Chassis Frame, which can flex the internal Motherboard and cause micro-fractures in solder joints.
2. Verify Screw Penetration Depth
Measure the depth of the threaded inserts on the SFF Computer. Select M4 Screws that extend no more than 5mm into the chassis after passing through the Mounting Plate.
System Note: Excessively long screws can bridge electrical contacts on the Power Distribution Board or the High-Density Storage Controllers, leading to a catastrophic short circuit upon power-up.
3. Apply Baseplate to Mounting Surface
Secure the VESA Baseplate to the wall or monitor arm using high-tensile fasteners. Ensure the plate is level using a Logic-Level or a standard spirit level.
System Note: Proper leveling prevents uneven weight distribution that increases the idle torque on the Arm Pivot Assembly, potentially leads to long-term structural drift.
4. Initiate Chassis Securement
Align the Chassis with the Baseplate and hand-tighten the four M4 Fasteners in a cross-pattern (Top-Left, Bottom-Right, Top-Right, Bottom-Left).
System Note: The cross-pattern tightening method ensures even pressure across the Chassis Skin, preventing localized warping that can disrupt the contact between the Internal Heatsink and the CPU.
5. Calibrate Final Torque
Use a certified Torque Wrench to tighten all four screws to exactly 1.0 Nm.
System Note: Standardizing torque ensures that the installation is idempotent across multiple units; specifically; it prevents screw stripping while maintaining enough friction to resist environmental vibration.
6. Configure Cable Management
Route all Ethernet (Cat6a) and Power Cables through the mount’s integrated cable channels. Secure them with Hook-and-Loop fasteners.
System Note: This step prevents signal-attenuation caused by tight bends or mechanical strain on the I/O Ports. It also ensures that the weight of the cables does not add to the downward load on the VESA mount.
7. Execute Thermal Benchmark
Power on the unit and run the command sensors or ipmitool sdr list to verify baseline temperatures. Run a stress test using stress-ng for 15 minutes.
System Note: Monitoring the thermal-inertia during a load test allows the architect to see if the mounting position restricts airflow, which would require the repositioning of the Chassis or the addition of an external fan.
Section B: Dependency Fault-Lines:
Mechanical bottlenecks often occur when the Chassis Weight exceeds the rated capacity of the Articulating Arm. This is common in deployments where a standard monitor arm is repurposed for a high-performance Edge Compute Module. Another failure point is the library conflict between the Hardware Abstraction Layer (HAL) and the thermal sensors if the unit is mounted in an unconventional orientation (e.g., upside down). Gravity can affect the efficiency of certain Heat-Pipe designs, leading to higher-than-expected latency in thermal response times. If the Throughput of the system drops during heavy processing, check for localized heat pockets trapped between the Chassis and the Mount.
THE TROUBLESHOOTING MATRIX
Section C: Logs & Debugging:
When a system fails to maintain stability after mounting, diagnostic efforts should focus on both physical and logical layers. Monitor the system log using tail -f /var/log/syslog or journalctl -xe for “Machine Check Exception” (MCE) errors, which often indicate physical pressure on the motherboard or CPU overheating.
- Error: “Thermal Throttling Activated”: Search the logs for package-threshold-reached events. This usually indicates the Chassis Fan is obstructed by the mounting bracket or the unit is too close to a wall.
- Physical Fault: Bracket Sag: Inspect the gap between the Mounting Plate and the Chassis. If the gap is wider at the top, the screws are either the wrong pitch or the mount is failing.
- Logical Conflict: Unexpected Reboots: Check the dmesg output for voltage-drop or interrupt-storm. This can be caused by the VESA screws touching an internal component and creating an intermittent ground loop.
- Sensor Readout Verification: Use smartctl -a /dev/sda to check the temperature of the storage drives. If drive temperatures exceed 55C while CPU remains cool, the mounting position is likely trapping heat in the lower portion of the enclosure.
OPTIMIZATION & HARDENING
Performance Tuning requires a focus on thermal efficiency and concurrency. Use the cpufreq-set utility to define a governor that balances throughput with heat generation. In edge environments with high vibration, such as near industrial turbines, hardening the system involves the use of thread-locking fluid (e.g., Loctite 243) on all VESA screws to prevent them from backing out due to mechanical resonance.
Security Hardening for VESA mountable systems often involves physical logic. Since these units are often exposed in public or semi-public spaces, utilize Security-Torx screws for the VESA mount to prevent unauthorized removal of the Chassis. Within the OS, ensure that USB Ports are disabled via modprobe -r usb_storage if the unit is mounted in an unmonitored area.
Scaling Logic: To expand this setup, implement a Daisy-Chain or Cluster-Mount configuration. This involves using a custom Backplane that can hold multiple VESA-compliant nodes on a single heavy-duty rack rail. When scaling, recalculate the total weight to ensure the Rack Frame can support the aggregate mass without exceeding the structural payload capacity. Ensure that the Packet-loss across the localized cluster is minimized by using short, shielded interconnects between the mounted nodes.
THE ADMIN DESK
How do I determine if my chassis is VESA compliant?
Check the rear panel for a square bridge of four threaded holes. Standard spacing for VESA mountable system specs is either 75mm or 100mm. Measure with a millimeter ruler to confirm. Consult the Chassis Data Sheet for official MIS certification.
What is the risk of using non-standard screws?
Non-standard screws may have the wrong Thread Pitch (e.g., Imperial vs. Metric), which will strip the Chassis Inserts. If they are too long, they will puncture internal components; if too short, the system will fall and suffer impact damage.
Does mounting orientation affect system performance?
Yes. Certain Passive Heatsinks and Liquid-Cooling Loops are orientation-dependent. Mounting a system vertically when it was designed for horizontal airflow can increase Thermal-Inertia, causing the system to throttle CPU Concurrency to prevent hardware degradation.
Can I mount a VESA system to a wooden surface?
Only if utilizing Toggle Bolts or securing the mount directly into a Wall Stud. Standard wood screws do not provide sufficient shear strength to support a heavy Compute Chassis over long periods of time.
Is grounding necessary for VESA mounts?
While the mount provides a mechanical connection, electrical grounding should be verified via the Power Cable. In high-interference environments, a dedicated Grounding Strap from the Chassis to the Mounting Arm can reduce Signal-Attenuation and EMI risk.

