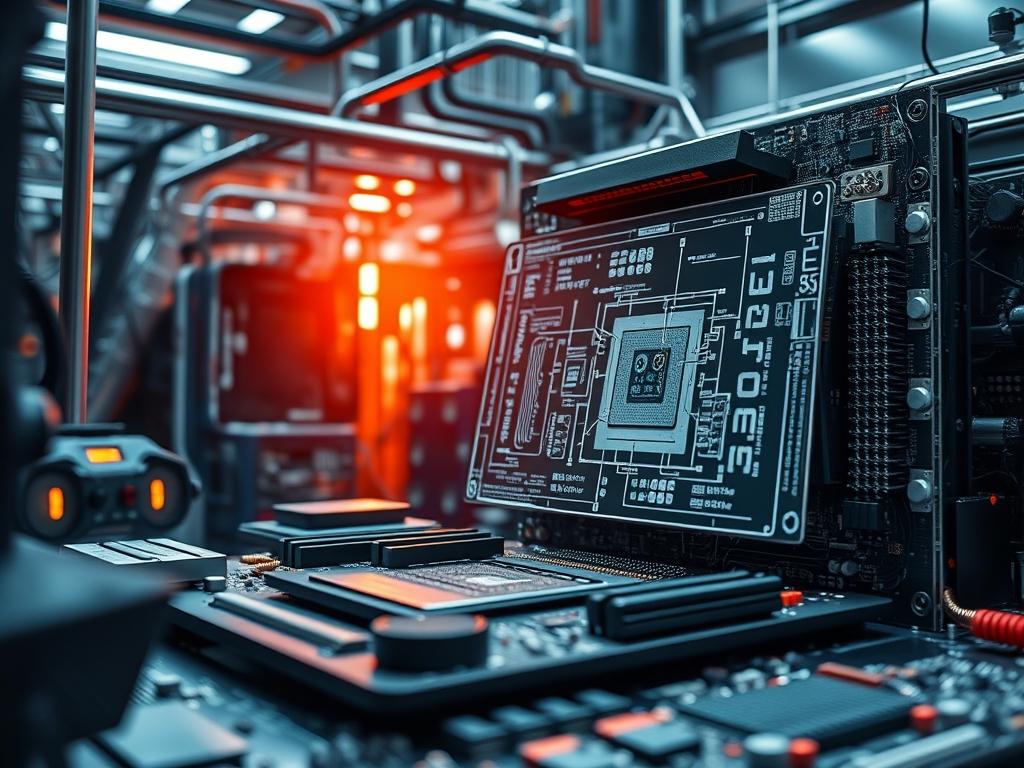
Laptop workstation motherboard designs represent the nexus where mobile portability meets rigorous computational demands; they are the physical foundation of high-performance mobile computing. Unlike consumer-grade laptop boards, workstation designs emphasize sustained throughput and thermal-inertia management to handle long-duration rendering, CAD, and simulations. The core engineering problem involves cramming desktop-class power delivery systems (VRMs) into a limited Z-height while maintaining signal integrity across dense, multi-layer PCBs. This requires advanced high-density interconnect (HDI) technologies and specialized copper pours to handle significant current flow. Within the broader technical stack, the motherboard acts as the primary hardware orchestrator; it manages the distribution of energy from the power supply unit (PSU) and coordinates the data payload across the PCIe lanes and memory channels. Failure to address signal-attenuation or voltage ripple at this level leads to system instability and reduced longevity, making the auditable design of these boards critical for enterprise reliability.
Technical Specifications (H3)
| Requirement | Default Port/Operating Range | Protocol/Standard | Impact Level (1-10) | Recommended Resources |
| :— | :— | :— | :— | :— |
| Power Delivery (VRM) | 0.8V – 1.8V (Vcore) | Intel IMVP9 / AMD SVI3 | 10 | High-Phase Count MOSFETs |
| PCIe Data Lanes | Gen 4.0 / 5.0 (16 GT/s) | PCIe Base Spec 5.0 | 9 | Megtron 6 PCB Material |
| Memory Concurrency | 4800 – 6400 MT/s | DDR5 / SO-DIMM | 8 | ECC Unbuffered RAM |
| Thermal Threshold | 95C – 105C Tjunction | ACPI Thermal Zones | 9 | Vapor Chamber Integration |
| Management Interface | I2C / SMBus | IPMI 2.0 / DMTF | 7 | Dedicated BMC Chipset |
| High-Speed I/O | 40 Gbps (Thunderbolt) | USB4 / TB4 | 6 | Re-timer / Re-driver ICs |
The Configuration Protocol (H3)
Environment Prerequisites:
Successful auditing and configuration of laptop workstation motherboard designs require compliance with several IEEE and NEC standards, specifically those governing DC-to-DC conversion and electromagnetic compatibility (EMC). Hardware auditors must have access to the UEFI/BIOS source documentation and proprietary board view files (typically in .brd or .fzj formats). Necessary software includes intel-undervolt for power limit manipulation and lm-sensors for low-level diagnostic readouts. Administrative access to the operating system kernel is mandatory to interact with the sysfs power management tree.
Section A: Implementation Logic:
The engineering logic behind workstation boards centers on the Power Delivery Network (PDN). Unlike standard laptops, workstations utilize an “N+1” or “N+2” phase redundancy for the CPU and GPU VRMs. This design increases the total thermal-inertia of the power circuit, allowing components to run cooler by distributing the current load across more inductors. By increasing the phase count, we reduce the switching frequency overhead for individual MOSFETs, which minimizes signal-attenuation in the power rails and prevents transient voltage drops. Furthermore, the encapsulation of high-speed traces within grounded inner layers of the PCB prevents crosstalk and data packet-loss when the system is operating at maximum throughput.
Step-By-Step Execution (H3)
1. Power Rail Verification
The initial phase involves measuring the stability of the Vcore and Vmem rails under a synthetic load. Open a terminal and use sensors to monitor real-time voltage levels while simultaneously probing the physical test points on the motherboard with a fluke-multimeter.
System Note: This action verifies that the DC-DC conversion logic is maintaining an idempotent state where the voltage remains stable regardless of the current draw fluctuations; this prevents logic errors in the CPU kernel.
2. Firmware Power Limit Adjustment
Modify the PL1 (Power Limit 1) and PL2 (Power Limit 2) variables within the MSR (Model Specific Registers). Use the tool wrmsr to write hex values to register 0x610.
System Note: By adjusting these registers, you are telling the hardware’s internal power controller how much wattage the motherboard’s copper layers can physically dissipate before thermal-inertia is overwhelmed and throttling occurs.
3. Latency Optimization for Memory
Access the UEFI advanced menu to tune memory sub-timings. Focus on reducing the CAS Latency and tRCD to minimize data retrieval latency during heavy concurrency tasks.
System Note: This modifies the Northbridge timing loops, forcing the memory controller to tighten its strobe cycles; if the signal integrity is poor, this will cause immediate memory training failures.
4. Thermal Map Analysis
Execute a stress test using mprime (Prime95) and capture the thermal dissipation pattern using a FLIR camera aimed at the motherboard’s rear side. Cross-reference this with the temperature readings in /sys/class/thermal/thermal_zone*.
System Note: This step maps the physical heat migration across the PCB substrate to ensure that heat does not leach into sensitive components like the PCH or NVMe controllers.
5. PCIe Lane Integrity Check
Run the command lspci -vvv to inspect the status of the high-speed lanes. Look for the “LnkSta” line to ensure the lanes are running at their maximum rated speed and width (e.g., x16 Gen4).
System Note: High signal-attenuation will cause the link to renegotiate to a lower speed or a narrower width to prevent packet-loss, indicating a physical board defect or excessive EMI.
Section B: Dependency Fault-Lines:
The most significant bottleneck in workstation motherboard design is the relationship between the VRM switching frequency and the ESR (Equivalent Series Resistance) of the output capacitors. If high-polymer tantalum capacitors are replaced with lower-grade components due to supply chain issues, the latency of the power response increases. This creates a dependency fault where the CPU cannot transition between C-states rapidly enough, leading to “Whine” or system hangs. Additionally, the I/O throughput is strictly dependent on the trace length matching of the DDR5 bus; a difference of even 1mm can cause bit-flipping during high-load concurrency.
The Troubleshooting Matrix (H3)
Section C: Logs & Debugging:
When a motherboard fail-state occurs, the first point of analysis is the dmesg log for “Hardware Error” flags. Specifically, look for Machine Check Exceptions (MCE) which indicate internal parity errors.
- Error: “MCE: Machine check events logged”
Analysis: This often points to a voltage drop on the Vcore rail. Path: /var/log/mcelog. Use the mcelog utility to decode the binary signal into a human-readable format that identifies the specific CPU bank that failed.
- Error: “PCIe Bus Error: severity=Corrected”
Analysis: Indicates signal-attenuation on a specific lane. Check the physical shielding around the GPU slot and ensure no debris is interfering with the pins.
- Visual Cue: Slow pulsing Power LED
Analysis: This is a POST code indicating a memory training failure. The throughput of the memory bus failed the initial handshake; check for mismatched SO-DIMM modules.
Optimization & Hardening (H3)
Performance Tuning:
To maximize throughput, architects should implement “Load-Line Calibration” (LLC) via the UEFI to counteract Vdroop. By increasing the LLC level, the motherboard proactively bumps the voltage during high-transient loads, which reduces the latency of the CPU’s recovery from low-power states. Furthermore, adjusting the Uncore frequency can provide a significant boost in cache-heavy workloads by reducing internal data movement overhead.
Security Hardening:
Workstation designs must be hardened against physical side-channel attacks. This involves enabling Boot Guard and ensuring the TPM 2.0 module is integrated directly into the motherboard logic rather than as a pluggable header. The engineer should also utilize the chattr +i command on critical firmware configuration files within the EFI partition to prevent unauthorized tampering. Physical hardening includes the use of “Underfill” on the BGA chips to prevent mechanical stress from breaking solder balls over time.
Scaling Logic:
Scaling a workstation motherboard setup for high-traffic or high-load environments involves the use of external Thunderbolt expansion chassis. These bypass the internal thermal constraints by offloading the data payload to an external PCB with its own cooling and power delivery. To maintain signal integrity during scaling, the use of active cables is required to compensate for the signal-attenuation inherent in longer copper runs.
The Admin Desk (H3)
Q: How do I fix frequent thermal throttling on a new workstation?
Ensure the PL1 power limit in the BIOS matches the manufacturer’s rated TDP. Inspect the thermal interface material on the VRM pads; poor contact increases thermal-inertia lag, causing the CPU to throttle prematurely.
Q: What causes PCIe Gen 5 components to run at Gen 3 speeds?
This is typically caused by signal-attenuation. Check for interference from internal Wi-Fi cables. If the motherboard uses a riser, ensure it is validated for Gen 5 throughput to avoid excessive packet-loss.
Q: Can I increase the RAM throughput beyond the rated SO-DIMM speed?
If the motherboard supports XMP or EXPO, you can increase the clock. However, ensure that the VRM for the Vmem rail can handle the increased current without introducing significant voltage ripple.
Q: Why does the system hang during high concurrency I/O tasks?
This points to a PCH (Platform Controller Hub) overheat or a driver conflict in the NVMe stack. Monitor the PCH temperature in /sys/class/thermal and ensure the latest firmware is flashed to the controller.
Q: How do I verify if the motherboard supports ECC memory properly?
Run dmidecode -t memory and look for the “Total Width” and “Data Width” values. If “Total Width” is 8 bits larger than “Data Width”, the motherboard is actively utilizing the ECC parity bits for error correction.

