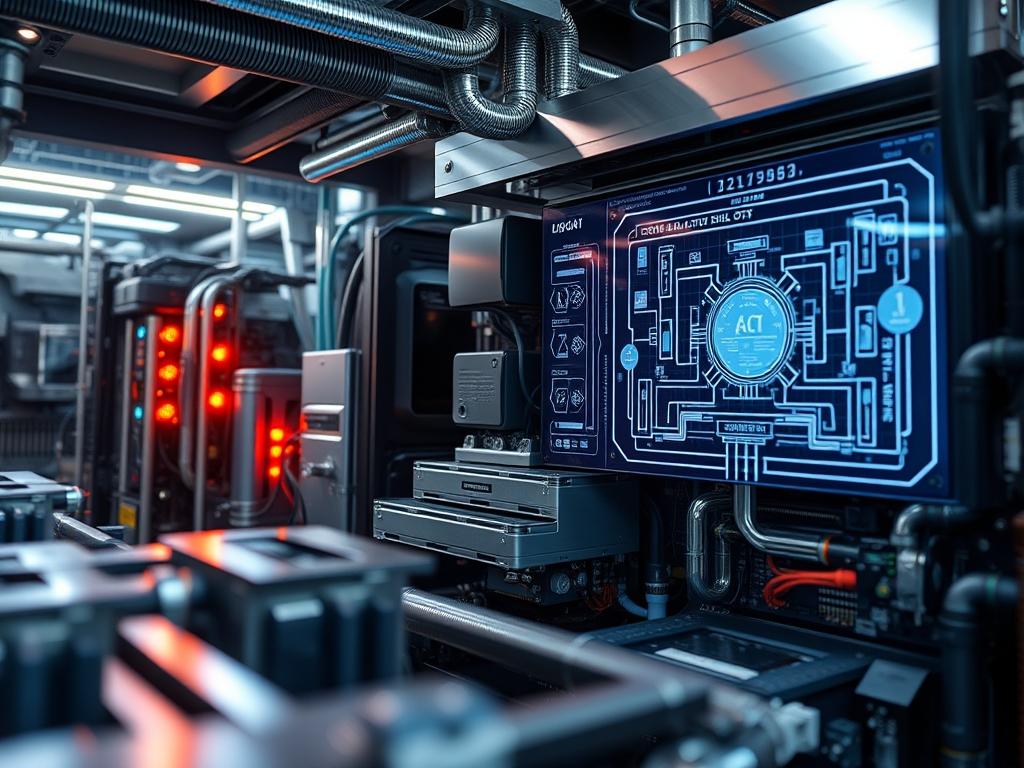
Liquid cooling in small builds represents the critical convergence of thermal management and high density spatial engineering. In environments where the volumetric cooling capacity of air is insufficient to manage the heat flux of modern multi core processors and high throughput GPUs; liquid cooling provides the necessary thermal inertia to prevent thermal throttling. This manual addresses the integration of high density radiators within constrained chassis volumes; focusing on the mechanical and thermal protocols required to maintain system stability under maximum load. The problem of small builds is primarily one of airflow impedance. Traditional heatsinks rely on a large volume of transit air; however; Small Form Factor (SFF) enclosures often lack the clearance for large fans or deep heatsinks. By utilizing liquid as a transfer medium; we decouple the heat source from the dissipation area; allowing for a more efficient encapsulation of thermal energy within a closed loop system. This approach minimizes signal attenuation caused by heat induced clock instability and ensures that the payload of computational tasks is processed with minimal latency.
TECHNICAL SPECIFICATIONS
| Requirement | Default Range | Protocol/Standard | Impact Level (1-10) | Recommended Resource |
| :— | :— | :— | :— | :— |
| Pump Duty Cycle | 1500 – 4500 RPM | PWM (Pulse Width Modulation) | 9 | DCC or D5 Pump |
| Radiator Fin Density| 18 – 22 FPI | ISO 9001 Material Grade | 7 | High Static Pressure Fans|
| Coolant Temperature | 25C – 50C | ASTM D3306 (Corrosion) | 10 | NTC 10k Thermal Sensor |
| Volumetric Flow | 1.0 – 2.5 LPM | G1/4 Threading Standard | 8 | EPDM or Norprene Tubing |
| Thermal Resistance | 0.05 – 0.15 C/W | IEEE 1341-2022 | 9 | Phase-Change TIM |
THE CONFIGURATION PROTOCOL
Environment Prerequisites:
Prior to assembly; ensure all hardware meets the G1/4 standard for fitting threads. The deployment environment must have available PWM Fan Headers capable of 2.0A delivery for the Pump startup current. Required software includes lm-sensors for kernel level monitoring and systemd-timesyncd to ensure log accuracy during thermal stress testing. All technicians must use an anti static wrist strap bonded to the chassis to prevent catastrophic electrostatic discharge (ESD) into the Micro-Controller Unit (MCU) on the Mainboard.
Section A: Implementation Logic:
The engineering logic for liquid cooling in small builds relies on the principle of thermal-inertia. Unlike air; which has low specific heat capacity; liquid coolants absorb significant heat energy before the system temperature stabilizes. In a small chassis; air turnover is limited; creating a “heat soak” effect. We mitigate this by using high density radiators; where the surface area is maximized through a high number of fins per inch (FPI). This increases the thermal dissipation potential but also increases the workload on the fans. The logic dictates that liquid cooling should be treated as an idempotent process; regardless of ambient conditions; the loop must be able to maintain a coolant temperature delta (Delta T) of less than 15 degrees Celsius over ambient to ensure long term component health.
Step-By-Step Execution
1. Primary Radiator Cleansing
System Note: The technician must utilize a solution of distilled water and phosphoric acid or a dedicated loop flush to remove manufacturing flux from the Radiator Internal Channels. This prevents particulate buildup in the CPU Water Block micro-fins; which would otherwise increase the flow resistance and reduce convective throughput.
2. Mounting the Cold Plate
System Note: Install the CPU Water Block using a cross-pattern tightening sequence to ensure uniform pressure across the Integrated Heat Spreader (IHS). This action optimizes the thermal interface and reduces the likelihood of “hot spots” that trigger motherboard safety shutdowns at the hardware level.
3. Pump Integration and Power Verification
System Note: Connect the DCC Pump to the designated AIO_PUMP or W_PUMP header on the motherboard. Use the sensors-detect command in the Linux terminal to verify that the BIOS/UEFI correctly identifies the tachometer signal; ensuring the pump does not run dry during the initial priming stage.
4. Pressure Testing the Loop
System Note: Apply 0.5 bar of air pressure using a manual leak tester before introducing any liquid. This ensures the integrity of the O-Rings and Fitting Compression Rings without risking an electrical short circuit. A drop in pressure indicates a failure in the mechanical encapsulation of the loop.
5. Vacuum Filling or Gravity Priming
System Note: Fill the loop with a specialized coolant containing biocides and corrosion inhibitors. During this phase; use a 24-pin ATX Jumper to power the Pump independently of the CPU and GPU. This prevents the silicon from overheating while the loop is still being purged of air pockets (bleeding).
6. Fan Curve Calibration
System Note: Access the BIOS Q-Fan Control or edit the /etc/fancontrol configuration file to bind fan speeds to the T_Sensor (Coolant Temperature) rather than the CPU Package Temperature. This prevents rapid RPM fluctuations; reducing mechanical wear and optimizing the noise to performance ratio.
Section B: Dependency Fault-Lines:
Small builds are susceptible to several critical failure modes. The most common is the “Air Lock” where an air bubble becomes trapped in the Pump Volute; stalling the flow. Another bottleneck is galvanic corrosion; occurring when an aluminum radiator is accidentally paired with a copper water block. This produces a battery-like effect that degrades the metal and seeds the loop with conductive ions. Finally; the tight radii of tubing in SFF cases can lead to kinking; which drastically increases the head pressure required from the Pump and may lead to motor failure due to excessive impedance.
THE TROUBLESHOOTING MATRIX
Section C: Logs & Debugging:
When a system experiences a thermal shutdown; check the logs at /var/log/syslog or via journalctl -u lm-sensors. Look for “Critical Temperature Reached” errors associated with the Coretemp driver. If the logs indicate high temperatures but the Radiator feels cold; the fault lies in the thermal transfer at the Cold Plate or a total pump failure.
If the Pump RPM is reported as 0; check the physical connection and verify the voltage at the header using a Fluke-Multimeter. A reading below 12V suggests a power delivery issue from the Power Supply Unit (PSU). For visual inspection; look for the “Fluid Jitter” in the reservoir or any visible bubbles in the tubing. If the system experiences intermittent freezes; check the dmesg output for PCI-E bus errors; as high heat can occasionally cause signal-attenuation on the high speed lanes between the CPU and the GPU.
OPTIMIZATION & HARDENING
Performance Tuning:
To maximize throughput; enable “Extreme” or “High Performance” mode for the Pump in the control software once the air is fully purged. Fine tune the static pressure fans to operate at their “sweet spot” (usually 60-70% duty cycle); where they provide sufficient airflow through the high density fins without creating excessive turbulent noise. Consider undervolting the CPU and GPU using msi-afterburner or intel-undervolt to reduce the total thermal payload on the radiator.
Security Hardening:
In an industrial or enterprise small build; ensure that thermal limits are hard-coded in the BIOS to prevent software based overrides. Configure the System Management Controller (SMC) to initiate a graceful shutdown if the coolant temperature exceeds 55 degrees Celsius. Physically secure the fittings with locking clips to prevent accidental disconnection in high vibration environments; such as edge nodes deployed in transit vehicles.
Scaling Logic:
If the thermal load increases through the addition of a secondary GPU; the scaling path involves adding an external radiator or utilizing “Quick Disconnect” (QDC) fittings to link the small build to a larger external cooling manifold. This allows the small form factor device to retain its portability while gaining the thermal-inertia of a much larger cooling system during high load periods.
THE ADMIN DESK
How do I identify a pump stall?
Check the tachometer output using watch -n 1 sensors. If the RPM fluctuates wildly or drops to zero while the header power is confirmed; the pump has stalled. This is often caused by debris or an air lock in the impeller.
Why is my coolant temperature rising but fans are at 100%?
This indicates a “Heat Soak” scenario where the radiator’s density is insufficient for the thermal load. The system is saturated because the ambient air temperature inside the small chassis has risen too high to allow for effective heat exchange.
Can I use pure distilled water for long term use?
No. Distilled water lacks corrosion inhibitors and biocides. Over time; this will lead to biological growth and galvanic corrosion between different metals in the loop; eventually clogging the Micro-Channel Fin Array and increasing thermal resistance.
What is the ideal tubing for small builds?
EPDM (Ethylene Propylene Diene Monomer) is recommended. It is highly resistant to kinking in tight spaces and has very low vapor permeation; which is essential in small loops where even minor fluid loss can cause pump cavitation.
Where should I place the thermal probe?
Integrate the NTC 10k Probe at the hottest point of the loop; typically the outlet of the CPU Water Block or the inlet of the Radiator. This gives the most accurate reading of the thermal payload.

