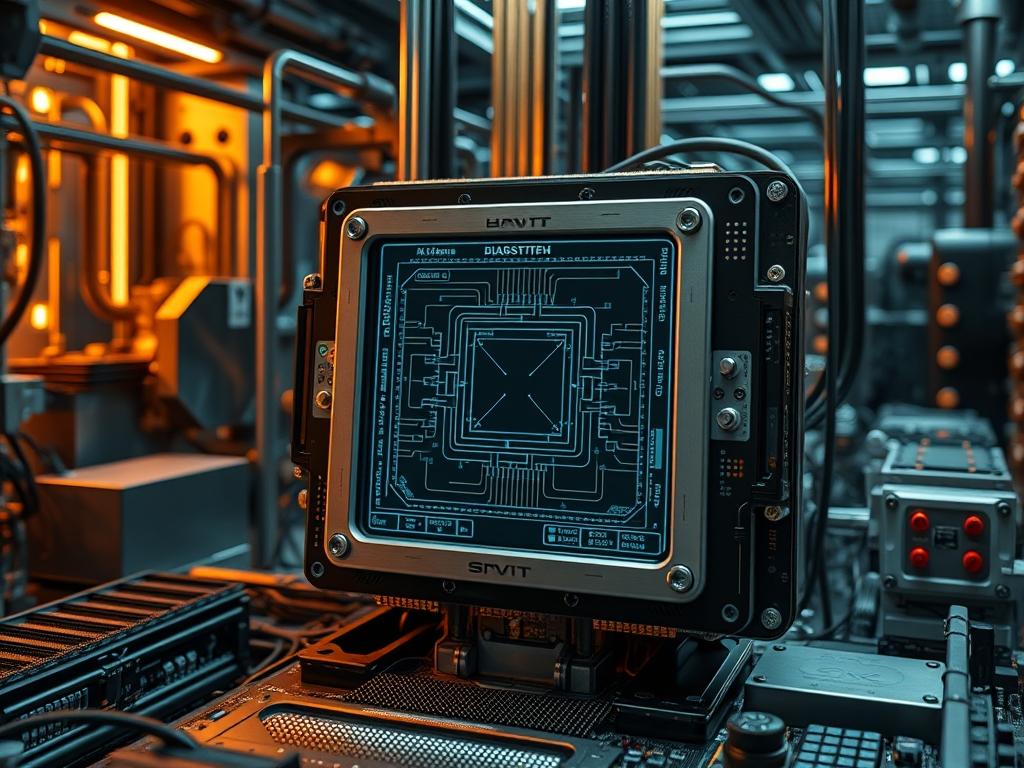
Transitioning from monolithic architectures to tile-based disaggregation requires a physical interface capable of managing extreme current densities and high-frequency signal integrity. The lga 1851 socket serves as the primary interconnect for this shift; it is designed to facilitate the complex power delivery and I/O requirements of the latest high-performance computing modules. Specifically utilized in environments where throughput and concurrency are non-negotiable, such as localized edge-cloud nodes or high-cadence financial modeling workstations, the lga 1851 socket replaces its predecessors by offering 151 additional pins. These pins are not ancillary; they are dedicated to enhancing the power delivery network and broadening the PCIe 5.0 lane availability. The “Problem-Solution” context addressed here involves the mitigation of signal-attenuation and the management of thermal-inertia in 185-watt base power processors. By shifting to a denser pin mapping, the socket ensures that transient response times are minimized, thereby maintaining a nearly idempotent state for voltage rails during heavy computational bursts.
TECHNICAL SPECIFICATIONS
| Requirement | Default Port/Operating Range | Protocol/Standard | Impact Level (1-10) | Recommended Resources |
| :— | :— | :— | :— | :— |
| VCCCORE Rail | 0.5V to 1.72V | Intel VRM 14.0 | 10 | 12-Phase Power Stages |
| DDR5 Frequency | 5600 MT/s to 8000+ MT/s | JEDEC/XMP 3.0 | 8 | Dual-Channel 32GB RAM |
| PCIe Gen5 | 16 Lanes (GPU) + 4 (SSD) | PCIe 5.0 Base Spec | 9 | NVMe Gen5 Storage |
| Socket Pressure | 450N to 600N (Static) | Mechanical Standard | 7 | Calibrated Torx Driver |
| Z-Height | 6.73mm to 7.2mm | Physical Logic | 6 | Heatsink Spacer Kit |
| TDP / PBP | 125W (Base) / 250W (PL2) | Thermal Management | 9 | 360mm AIO or Liquid |
THE CONFIGURATION PROTOCOL
Environment Prerequisites:
Before initializing the assembly or integration of the lga 1851 socket, the engineering team must ensure the following dependencies are met:
1. Compliance Standards: Adherence to IEEE 241 for industrial power systems and NEC Article 708 for critical operations power.
2. Firmware Integrity: Presence of Intel Management Engine (ME) 19.x or higher to support the disaggregated tile architecture.
3. Environmental Control: A Class 100 antistatic environment with humidity controlled between 40 percent and 60 percent to prevent electrostatic discharge (ESD).
4. User Permissions: Access to the BIOS/UEFI shell with administrative privileges and Linux Kernel 6.5+ for appropriate microcode patch threading.
Section A: Implementation Logic:
The transition to the lga 1851 socket is driven by the need for increased payload density and reduced latency between the CPU tiles and the memory controller. Unlike previous generations, the 1851 pinout effectively isolates the high-speed I/O lanes from the primary power planes. This encapsulation strategy prevents electromagnetic interference from the high-current VCCCORE rails from inducing noise into the PCIe 5.0 differential pairs. The extra pins also allow for a more granular distribution of VSS (ground) pins, which significantly lowers the return path inductance for high-frequency switching. Mathematically, this design reduces the risk of signal-attenuation across the PCB traces by providing more consistent impedance matching. Furthermore, the removal of DDR4 support simplifies the motherboard trace routing, allowing for optimized throughput on the DDR5 memory bus by minimizing the trace length delta between channels.
Step-By-Step Execution
1. Component Audit and Trace Analysis
Begin by inspecting the lga 1851 socket pins using a magnifying-lamp or a digital microscope at 20x magnification. Ensure no pins are deviated from the grid alignment.
System Note: Any physical deviation in the pin grid will cause non-linear electrical resistance; this triggers a hardware-interrupt at the kernel level before the POST (Power On Self Test) can complete, potentially causing permanent damage to the CPU pads.
2. Physical Integration and Vertical Alignment
Carefully lower the processor into the lga 1851 socket, ensuring the gold triangle alignment marker on the CPU matches the mark on the socket housing. Lower the ILM (Independent Loading Mechanism) and engage the tension lever.
System Note: The act of engaging the tension lever applies specific mounting-pressure to the package; this ensures that all 1,851 contact points penetrate the microscopic oxide layers on the pads, creating an electrically stable interface for the Vcore delivery.
3. Thermal Interface and Heatsink Calibration
Apply a high-conductivity thermal compound in a five-point pattern. Mount the cooling solution to the lga 1851 socket brackets, tightening the screws in a cross-pattern to 0.6 Newton-meters of torque.
System Note: Proper torque is essential to manage thermal-inertia; uneven pressure can cause the CPU integrated heat spreader to warp, leading to localized hotspots and aggressive thermal throttling via the PROCHOT signal.
4. Firmware and Logic Validation
Connect the 24-pin and dual 8-pin EPS cables. Power on the system and enter the UEFI interface to verify that all memory ranks and PCIe lanes are detected.
System Note: The UEFI interacts with the SPD (Serial Presence Detect) on the RAM modules to negotiate latency and voltage; this is an idempotent operation that ensures the system boots into a stable state regardless of previous power cycles.
5. OS-Level Sensor Verification
Boot into a Linux environment and execute sensors via the terminal to monitor real-time power draw and thermals. Run dmesg | grep -i microcode to confirm the latest logic patches are applied.
System Note: This command queries the sysfs filesystem to report data directly from the processor’s PECI (Platform Environment Control Interface), providing high-accuracy readouts of the internal die temperature.
Section B: Dependency Fault-Lines:
The most frequent mechanical bottleneck in lga 1851 socket deployments is the “socket-actuated warpage.” Because of the elongated shape of the socket, the pressure from the ILM can sometimes bow the center of the CPU, causing the middle pins to lose contact. This results in packet-loss over the internal high-speed fabric or immediate system instability. Another critical fault-line is the dependency on PCIe 5.0 redrivers; if the motherboard traces exceed 10cm without active redrivers, the signal-attenuation will preclude the link from training at Gen5 speeds, forcing a fallback to Gen4.
THE TROUBLESHOOTING MATRIX
Section C: Logs & Debugging:
When a system fails to initialize, the primary diagnostic tool is the hex-code display on the motherboard. A code of “00” or “D0” often indicates a lack of communication between the lga 1851 socket and the CPU power planes. Use a fluke-multimeter to check the VCCCORE test points located near the capacitors.
If the system boots but exhibits erratic behavior, analyze the kernel log:
tail -f /var/log/syslog | grep “MCE”
This will display Machine Check Exceptions. If you see errors related to “Internal Parity Error,” it points to a logic failure within the CPU tile caused by insufficient voltage. If the logs report “Correctable Error,” it typically indicates signal-attenuation on the memory bus. For physical verification, use an oscilloscope to check the ripple on the VDDQ rail; any oscillation exceeding 50mV will cause data corruption during high throughput operations.
OPTIMIZATION & HARDENING
– Performance Tuning: To maximize concurrency, navigate to the BIOS and adjust the Ring Ratio and Core Offset Voltage. Implement a “Global C-state” disable if the application requires zero-latency wakeups; however, be mindful that this increases the base thermal-inertia, requiring more aggressive fan curves.
– Security Hardening: Enable Intel Boot Guard and TPM 2.0 within the logic-controllers. This ensures that the encapsulation of the boot process is cryptographically signed, preventing rootkits from modifying the UEFI firmware before the OS initializes.
– Scaling Logic: For rack-mount deployments, utilize IPMI (Intelligent Platform Management Interface) to monitor the lga 1851 socket telemetry across multiple nodes. Use systemctl to automate the throttling of non-essential services if the thermal-inertia of the server room exceeds the cooling capacity. Keeping the socket temperature below 80 degrees Celsius is critical for long-term reliability and the prevention of electro-migration in the power delivery traces.
THE ADMIN DESK
How do I identify a mounting pressure issue?
If the system periodically loses one channel of memory or if the first PCIe slot drops to x4 speeds: it is likely a pressure imbalance. Re-seat the lga 1851 socket and tighten the cooling bracket using a calibrated torque tool.
Can LGA 1700 coolers be used with the LGA 1851 socket?
Physically, the mounting holes are identical. However, the Z-height of the lga 1851 socket is slightly different. You must use a socket-specific spacer kit to ensure the cold plate makes sufficient contact with the integrated heat spreader.
What causes “Signal Integrity” errors in PCIe 5.0?
The primary culprit is signal-attenuation due to dust or oils on the CPU pads. Clean the contacts with 99 percent isopropyl alcohol. Ensure no thermal-paste has leaked into the socket, as this increases capacitance and ruins high-speed signal profiles.
How does disaggregation affect power delivery?
With the lga 1851 socket, power is routed to specific tiles (Compute, I/O, Graphics). If the VRM cannot handle fast switching between these power states, you will experience latency or system crashes during rapid workload transitions.
What is the maximum safe operating temperature?
While the lga 1851 socket processors can technically hit 100 degrees Celsius before shutdown, for 24/7 infrastructure stability, the sustained temperature should not exceed 85 degrees. Higher temperatures increase overhead and decrease the lifespan of the power delivery capacitors.

