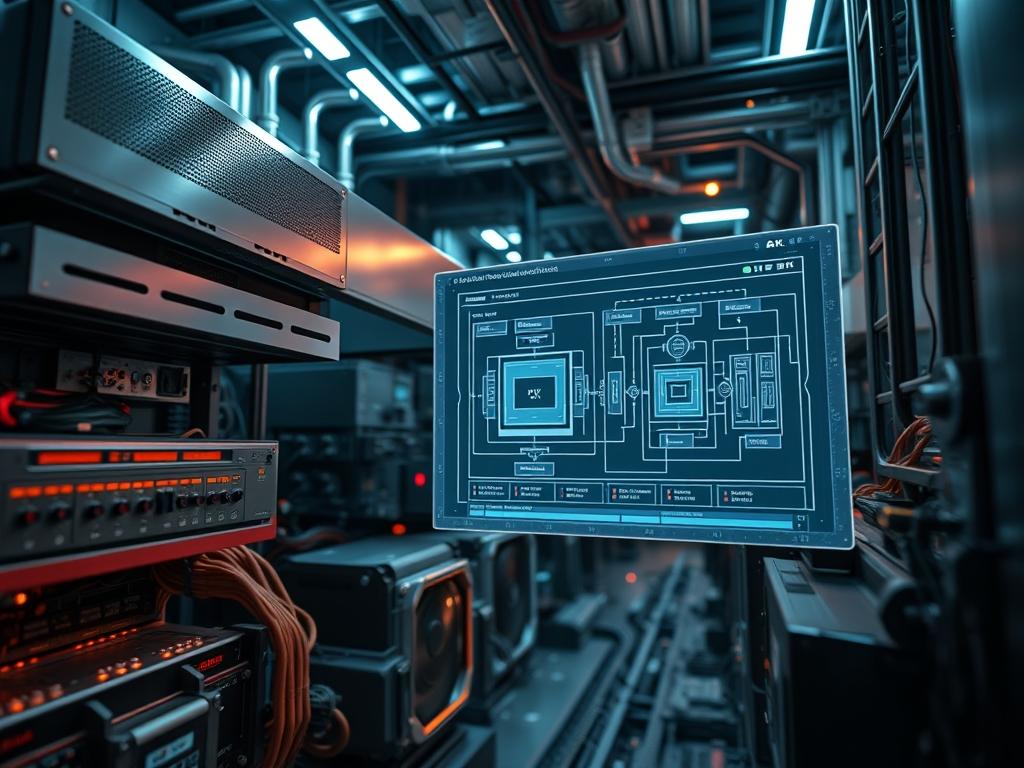
Evolution of high-density compute infrastructure necessitates a rigorous transition from standard consumer dimensions to the e atx form factor. This hardware standard, formally recognized as Extended ATX, serves as the critical physical abstraction layer for modern private cloud and high-performance network nodes. While standard ATX manages general-purpose workloads, the e atx form factor is engineered to resolve the physical limitations of PCB real estate in multi-socket environments. It facilitates a significant increase in throughput by providing the surface area required for additional memory banks, complex VRM (Voltage Regulator Module) arrays, and expanded PCIe lane traces. Within the context of energy and cloud infrastructure, selecting this form factor is a proactive solution to the problem of thermal density and signal interference. By decoupling the constraints of narrow motherboard footprints, engineers can implement robust thermal-inertia management strategies; this ensures that mission-critical payloads do not suffer from frequency throttling or hardware-level latency during peak concurrency periods.
TECHNICAL SPECIFICATIONS (H3)
| Requirement | Default Port/Operating Range | Protocol/Standard | Impact Level (1-10) | Recommended Resources |
| :— | :— | :— | :— | :— |
| Board Dimensions | 12 x 13 inches (305 x 330 mm) | SSI EEB / E-ATX | 10 | Reinforced Steel Chassis |
| Power Delivery | 24-pin ATX / Dual 8-pin EPS | Intel ATX 3.0 | 9 | 1000W+ Platinum PSU |
| Thermal Ceiling | 95C Peak Operative | ACPI Thermal Zone | 8 | Active liquid or 3U Heatsink |
| Signal Timing | 3200-6400+ MT/s | JEDEC / DDR5 | 7 | Low-profile ECC RAM |
| Mounting Logic | 9 to 12 Standoff Points | ISO 965 / Metric | 9 | Non-conductive spacers |
| I/O Throughput | 128 Lanes (Gen 5) | PCIe Base Spec 5.0 | 8 | Active Bridge Cooling |
THE CONFIGURATION PROTOCOL (H3)
Environment Prerequisites:
1. Chassis must explicitly support the SSI EEB or e atx form factor mounting pattern; check for the “E” or “EEB” stamp on the motherboard tray.
2. Compliance with NEC (National Electrical Code) Article 645 for Information Technology Equipment, ensuring proper grounding and branch circuit protection.
3. Access to a fluke-multimeter for verifying PSU rail stability before board mounting.
4. Firmware baseline: UEFI Version 2.8 or higher is required for proper NVMe enumeration and PCIe bifurcation support.
5. Administrative permissions for IPMI or BMC (Baseboard Management Controller) configuration are mandatory for remote health monitoring.
Section A: Implementation Logic:
The engineering design of the e atx form factor follows the principle of hardware-level encapsulation. By extending the horizontal axis of the PCB, the design allows for the routing of more complex trace paths, which reduces signal-attenuation across long-distance communication between the CPU and memory controllers. This layout is idempotent in its stability; regardless of the BIOS revisions, the physical spatial isolation between high-current power stages and low-voltage logic traces remains constant. This separation is vital for maintaining high throughput in environments where electromagnetic interference (EMI) could otherwise degrade the payload integrity of data packets traveling through the Southbridge. Expanding the board width also allows for staggered RAM slot placement, which optimizes the airflow vector across the DIMM modules, significantly increasing the thermal-inertia of the cooling solution.
Step-By-Step Execution (H3)
1. Chassis Geometry Validation
Inspect the internal volume of the enclosure to ensure the clearance for a 13-inch wide PCB does not obstruct intake fans or drive cages.
System Note: Failure to verify clearance results in physical choke-points that impede the thermal-inertia of the system; this may trigger the kernel to log CPU Thermal Throttling events via dmesg.
2. Standoff Mapping and Isolation
Coordinate the placement of brass standoffs to match the e atx form factor hole pattern. Ensure no extraneous standoffs remain in contact with the PCB underside.
System Note: An unmapped standoff creates a localized short-circuit across the multi-layer grounding plane; this prevents the POST (Power-On Self-Test) sequence and can lead to permanent VRM failure.
3. Rail Integrity Verification
Connect the fluke-multimeter to the 24-pin ATX connector and the 8-pin EPS12V leads to verify a consistent +12V, +5V, and +3.3V delivery.
System Note: Unstable voltage rails introduce latency in logic gate switching, manifesting as non-deterministic kernel panics or hardware-level packet-loss at the NIC.
4. Component Seating and Encapsulation
Install the processors and memory modules, ensuring horizontal alignment to prevent socket-pin deformation. Apply thermal interface material with a focus on even distribution.
System Note: Improper seating increases electrical resistance; the BMC will report high current-draw anomalies in the hardware logs, potentially triggering an immediate system halt.
5. Firmware Initialization and BMC Access
Power the system and enter the UEFI environment to configure PCIe lane allocation and SRP (Single Root Port) settings.
System Note: Running ipmitool sdr list from a remote terminal allows the administrator to verify that all sensors (fan speeds, voltages, temperatures) are operating within the nominal range prescribed by the e atx form factor specification.
Section B: Dependency Fault-Lines:
The most common mechanical bottleneck in e atx form factor deployments is the “offset overlap” where the motherboard edge covers the cable-routing grommets of a standard chassis. This leads to severe cable tension and potential connector fatigue. Additionally, library conflicts during the OS installation phase (specifically surrounding ACPI tables) can occur if the firmware does not properly map the extended number of PCIe interrupts provided by the larger board. If the kernel cannot reconcile the IRQ steering for the additional onboard controllers, the administrator will observe high overhead in CPU usage due to interrupt storms.
THE TROUBLESHOOTING MATRIX (H3)
Section C: Logs & Debugging:
When a system fails to initialize, the first point of analysis should be the POST Code Display on the edge of the PCB. For boards using the e atx form factor, common error strings include “0x99” (Super IO Initialization) or “0xAD” (Ready to Boot). If the system hangs at “0x99”, check for a short in the extended I/O shield or a misaligned USB 3.2 header.
Admins should execute journalctl -p 3 -xb to view high-priority error logs related to the hardware abstraction layer. If the log displays “pci 0000:00:00.0: BAR 0: can’t assign; no space”, the PCIe enumeration has failed due to a lack of address space in the MMIO (Memory-Mapped I/O) region. This is often resolved by enabling “Above 4G Decoding” in the BIOS. For physical fault verification, inspect the VRM heatsinks using a thermal camera; a temperature delta of more than 15 degrees Celsius between power phases indicates a failing mosfet or poor contact, which will eventually degrade the motherboard’s thermal-inertia and cause a hard reset.
OPTIMIZATION & HARDENING (H3)
- Performance Tuning:
Maximize concurrency by enabling SR-IOV (Single Root I/O Virtualization) within the BIOS. This allows the extended PCIe capacity of the e atx form factor to be partitioned into virtual functions, reducing the latency associated with software-based virtualization. Adjust the fan curves to maintain a positive pressure gradient within the chassis to prevent dust accumulation on the high-density RAM banks.
- Security Hardening:
Implement a “Physical Logic Lock” by enabling Chassis Intrusion Detection in the BMC. In the event of an unauthorized opening of the case, the system can be configured to flush volatile RAM keys. Additionally, restrict IPMI access to a dedicated management VLAN to prevent network-based payload injection into the firmware.
- Scaling Logic:
To maintain this setup under high load, utilize a “Horizontal Growth” strategy. As compute demands increase, ensure the e atx form factor nodes are matched with high-ambient-airflow racks. The design is optimized for high throughput, but if the rack-level thermal-inertia is exceeded, the nodes must be migrated to a liquid-cooled manifold to maintain 100% duty cycle availability without signal-attenuation.
THE ADMIN DESK (H3)
- How does E-ATX differ from SSI EEB?
E-ATX is a consumer/prosumer standard focused on width. SSI EEB is an enterprise standard with specific screw hole patterns. Many e atx form factor boards use the SSI EEB mounting points; verify the chassis manual for hole compatibility before installation.
- Why is my motherboard hitting 100C on the VRMs?
This usually occurs due to insufficient airflow over the power phases. Ensure the CPU cooler does not block the VRM heatsinks. Use systemctl to check for high-process concurrency that may be pinning the voltage rails at maximum throughput.
- Can I use a standard ATX power supply?
Yes, but with caveats. Most e atx form factor boards require dual 8-pin EPS connectors for CPU stability. Standard PSUs may only provide one. Ensure your power supply supports the payload requirements of high-TDP processors to avoid rail sag.
- Is the “e” in E-ATX always the same size?
No. The e atx form factor is not strictly standardized like ATX. Widths can vary between 10.5 and 13 inches. Always measure the chassis clearance against the specific motherboard datasheet to prevent mechanical interference with front-mounted radiators or reservoirs.

